Building the MotoPi Motorcycle Alarm
As shown on the previous page, this handy little device can alert you when someone is tampering with your bike, as long as you have access to wifi. Whether it be to keep your children from injuring themselves, or to stop a potential theft. Get push alerts to your phone when you need them the most! With a simple change of sensor type, this can also be used as a start to a home or room security system. Let's get this build started! (Links to all items needed can be found to the left on PC, or at the very bottom if viewing from a mobile device.)
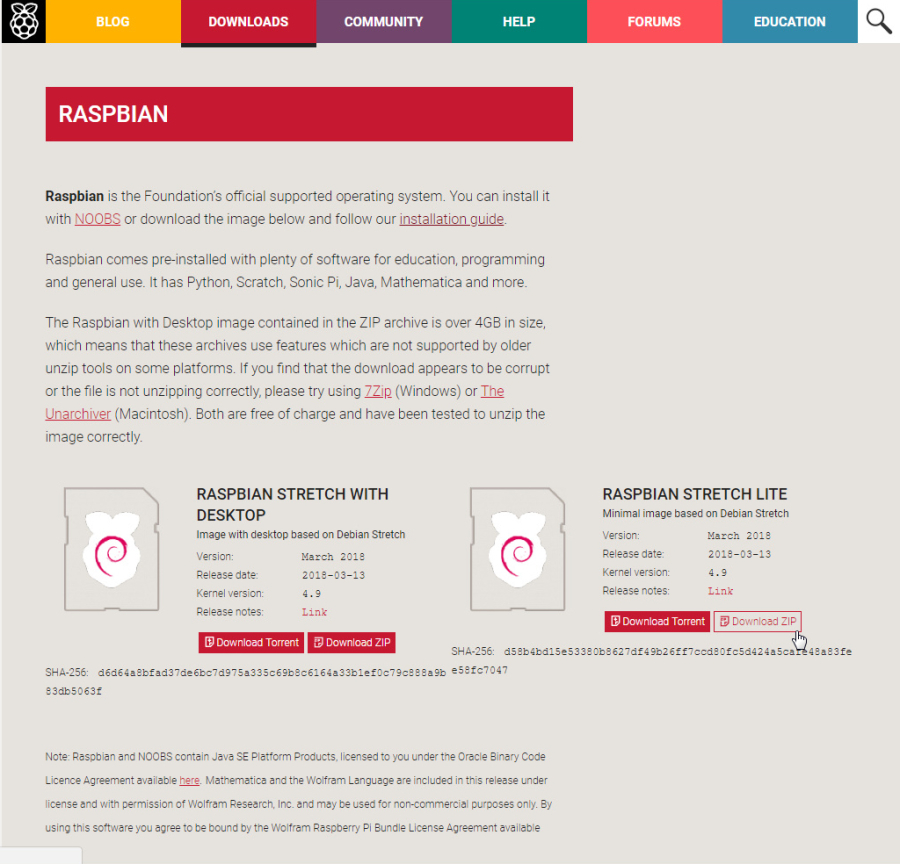
Step #1 Raspbian
*Download Raspbian Stretch Lite at:
https://www.raspberrypi.org/downloads/raspbian/
*Our compact operating system for this project.
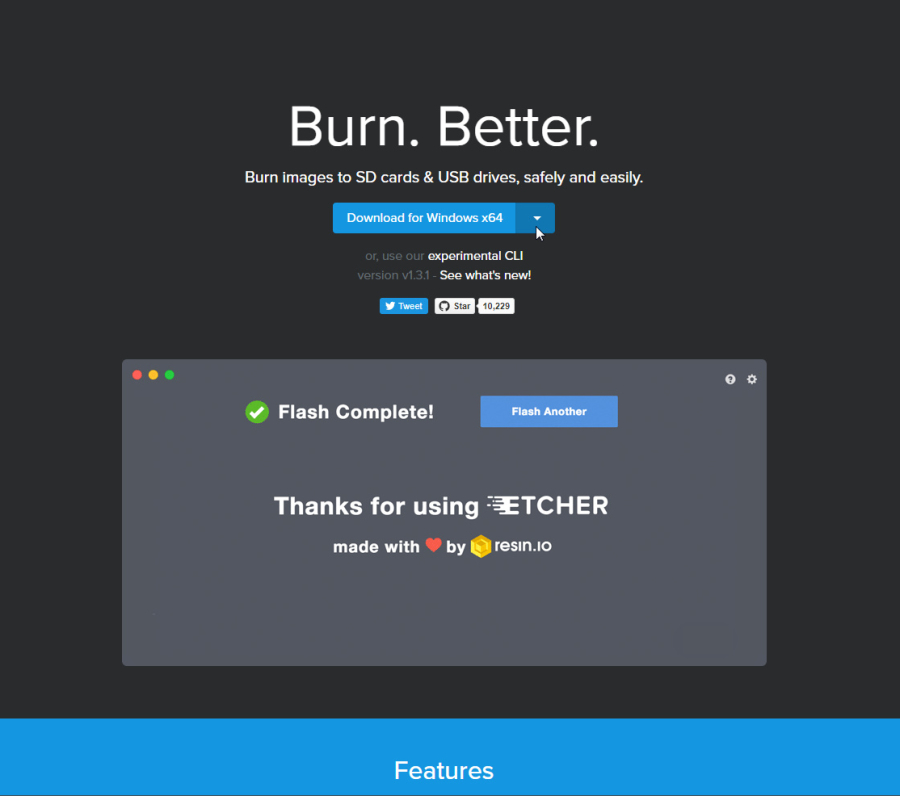
Step #2 Etcher
*Download Etcher at:
*Allows us to easily flash our SD card with the above operating system.

Step #3 Notepad ++
*Download Notepad ++ at:
https://notepad-plus-plus.org/
*This is the best text editor for maintaining the proper spacing for our scripts.

Step #4 Putty
*Download Putty at:
https://www.chiark.greenend.org.uk/~sgtatham/putty/latest.html
*This will allow us to remotely connect to our MotoPi for programming.
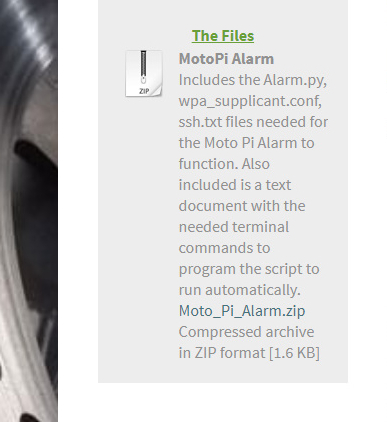
Step #5 MotoPi_Alarm.Zip
*Download the MotoPi Alarm.Zip package located HERE
*Contains all the files needed to get you up and running.

Step #6 Flashing the SD
*Insert the SD card into your reader and run Etcher.
*Select the 2017-11-29-raspbian-stretch-lite.zip file that you downloaded.
*Select the appropriate drive letter for your SD card.
*Click "Flash" and wait until finished.
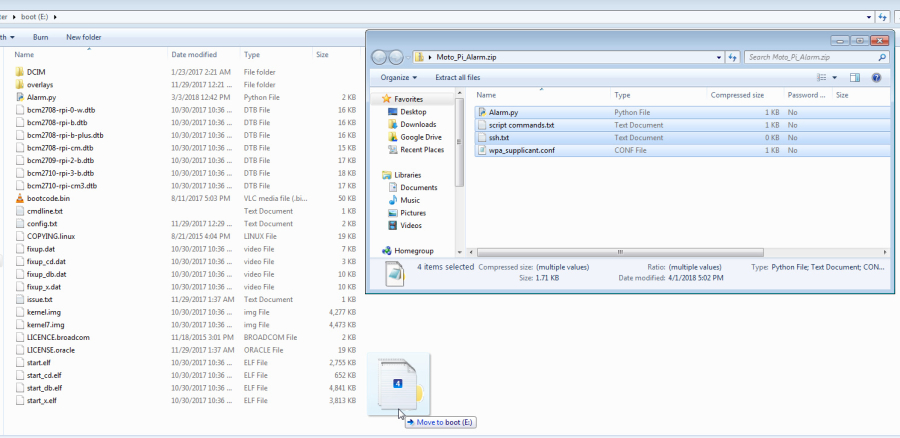
Step #7 Extracting Files
*Once flashing is complete, unplug the SD reader from the PC, then reconnect.
*You should now see a window labeled "boot" (If a warning pops up, select "continue without scanning")
*Extract the MotoPi_Alarm.Zip files into this partition.
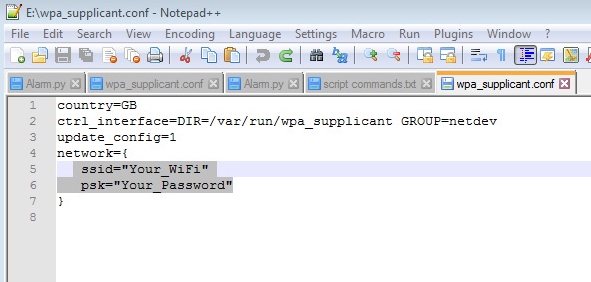
Step #8 WiFi Setup
*Right-Click wpa_supplicant.conf and select "Edit with NotePad++
*Change the "Your_WiFi" to the network you want to join, and "Your_Password" to the appropriate password. (Be sure to leave the quotations.)
*Click Save, then close
**For additional networks to scan and join, Copy+Paste this below the first from inside the wpa_supplicant.conf file:
network={
ssid="Your_WiFi"
psk="Your_Password"
}
*DO NOT COPY AND PASTE FROM HERE!!! Use only what is typed inside of the file for the proper spacing.
*It is recommended for a first time start up, to only enter one network as shown, to ensure a working system before adding more WiFi logins. This will help in troubleshooting if any errors are encountered.
Step #9 Setting up Pushover
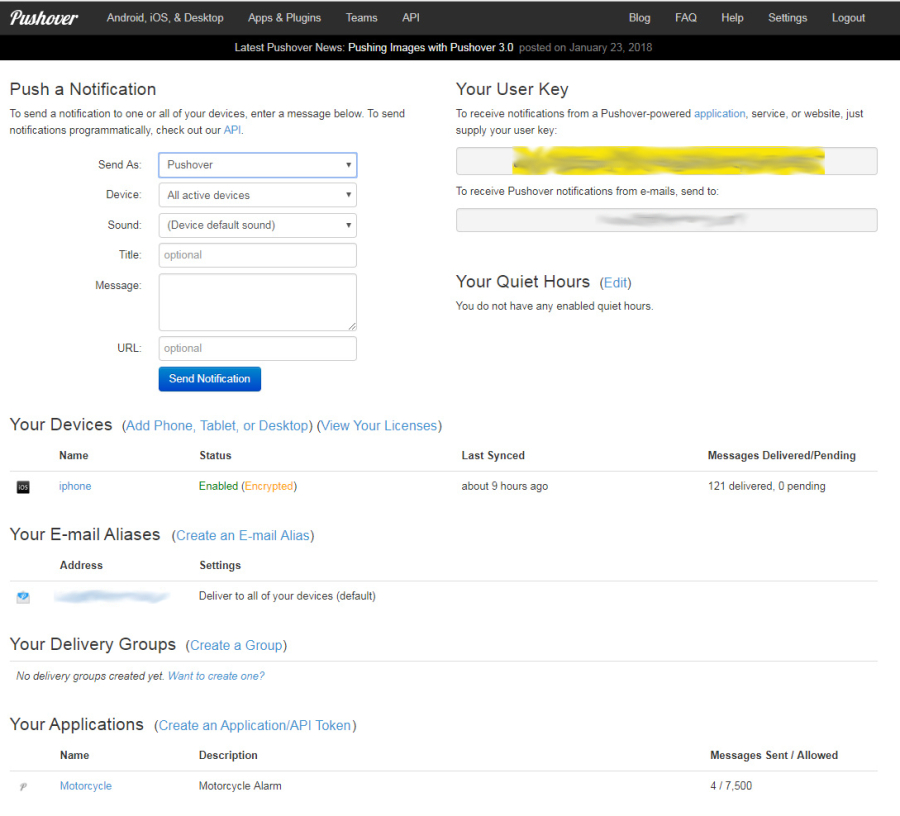
*Go to: http://pushover.net and register an account.
*Download the App for your chosen platform. IE: IoS or Android
*Once you have an account created, you will need to copy the highlighted text string under "Your User Key" for the next step.
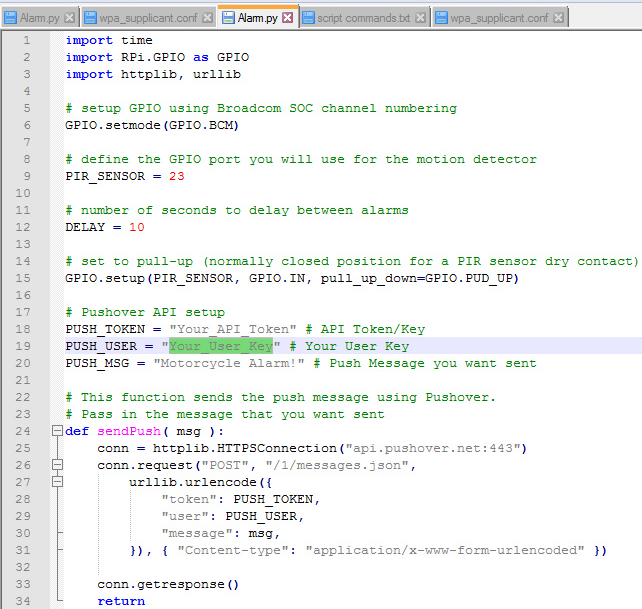
Step #10 Configuring Alarm.py pt.1
* Paste the highlighted text from Pushover.net between the quotations where it says PUSH_USER = "Your_User_Key"
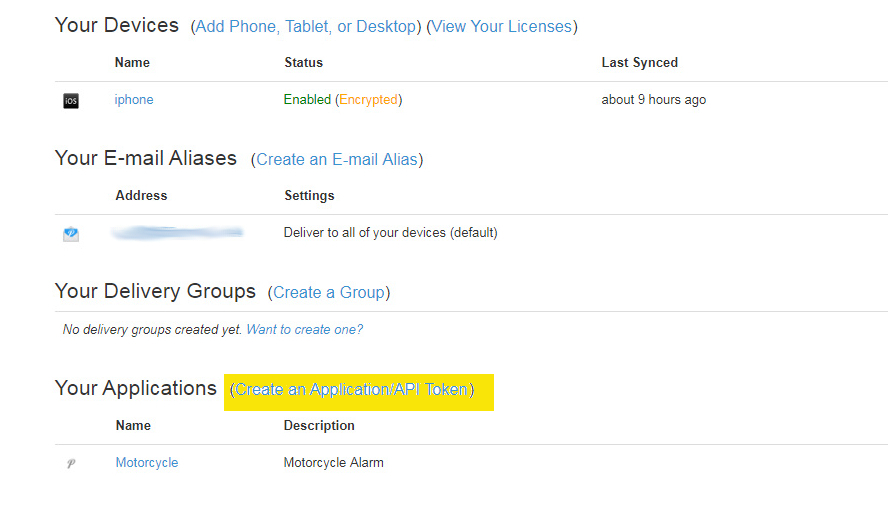
Step #11 Creating an Application/API Token
*Click Create an Application API Token at http://Pushover.net
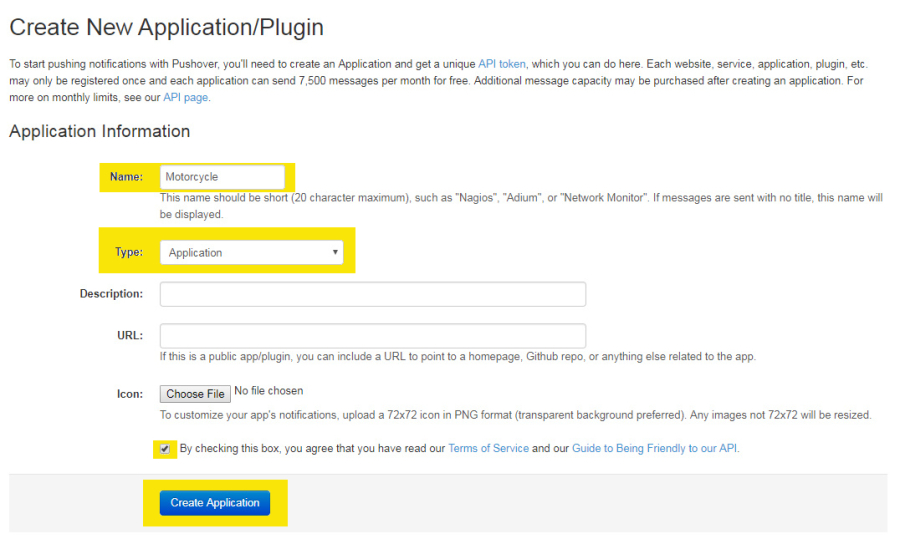
*Give your Application a name
*Set the type to "Application"
*Check the box to agree to the terms of use.
*Click "Create Application"

*Once your Application is created, copy the highlighted text string under "API Token/Key"
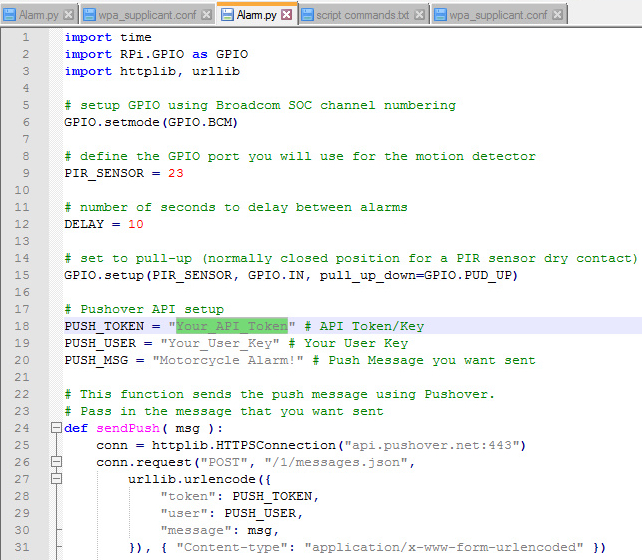
Step #12 Configuring Alarm.py pt. 2
*Paste the API Token/Key from Pushover.net between the quotations where it says PUSH_TOKEN = "Your_API_Token"
*Change PUSH_MSG = "Motorcycle Alarm!" to your desired message or leave as is.
*Save and close the file

Step #13 Attaching the Sensor
*Solder the tilt sensor to terminals GND and 23. Silver lead to GND, Gold to 23.
*GND is the third pin from the right, 23 is the eighth.
*Attach the provided heatsink.
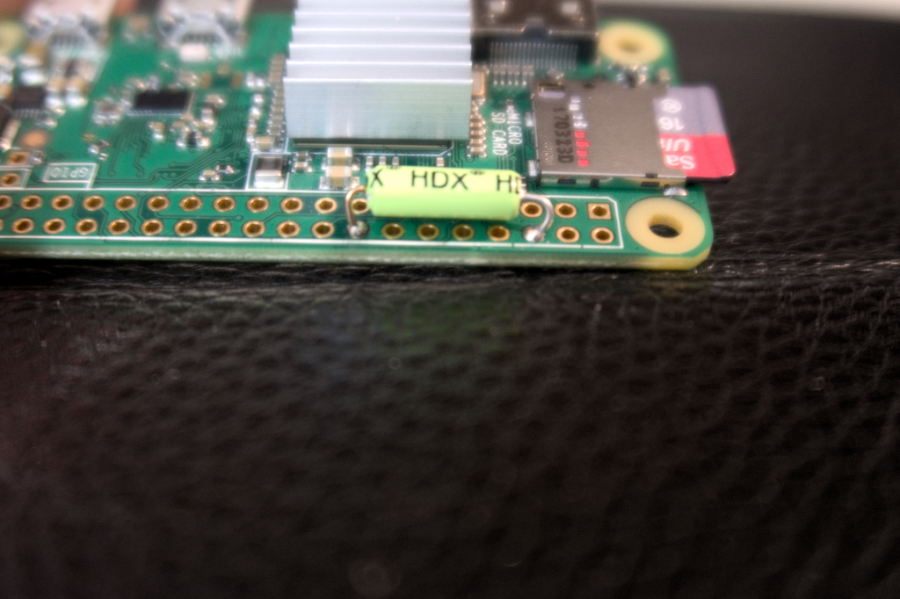
*Alternatively to soldering, you can bend the leads and use hot glue to adhere the sensor to the board.
*Once you have the sensor attached, insert the SD card and place the unit inside the case.
*Connect the provided power supply and let the unit boot up.
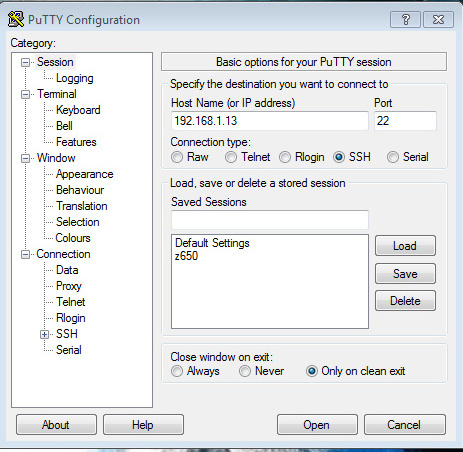
Step #14 Logging in via Putty
*Open Putty and enter the IP address that was assigned to raspberrypi from your router. (you will have to look at your router's connected clients to see this address)
*If you have trouble connecting to WiFi, the most common issue is incorrect spacing inside of the wpa_supplicant.conf, or case sensitivity. If you are having issues, make sure you are editing and saving using Notepad++ and that the WiFi name and password are typed correctly. You can change any WiFi settings at any time by simply dropping a new wpa_supplicant.conf from the .Zip package.
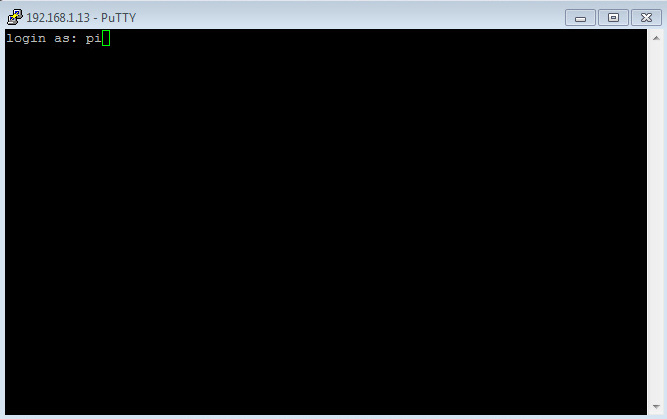
*Once connected, the default login is: pi
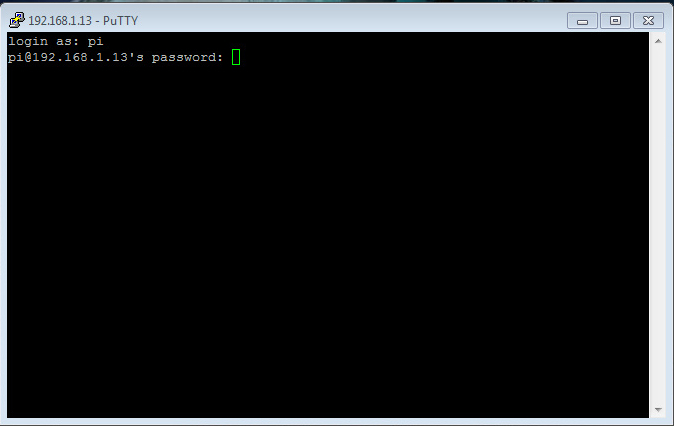
*The default password is: raspberry
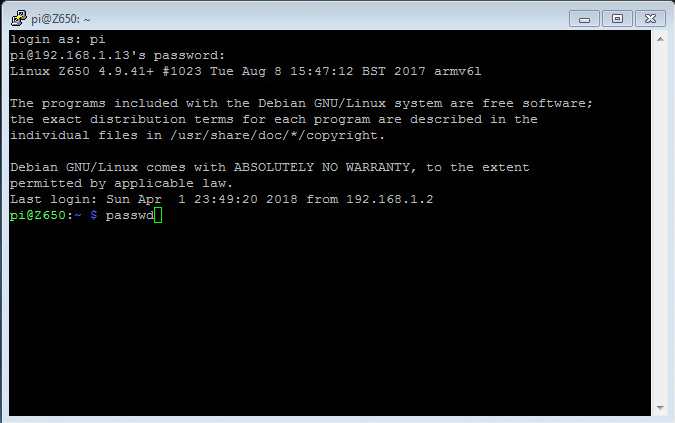
*On the first login, you will be prompted to change the default password.
*Type: passwd and follow the onscreen instructions.
*You will be asked to reboot.
Step #15 Changing the Hostname
*Next we will give our new device a distinct name instead of the default.
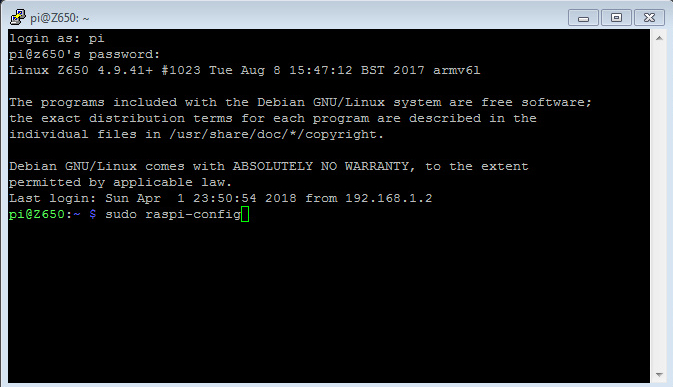
*Type: sudo raspi-config
*Press Enter
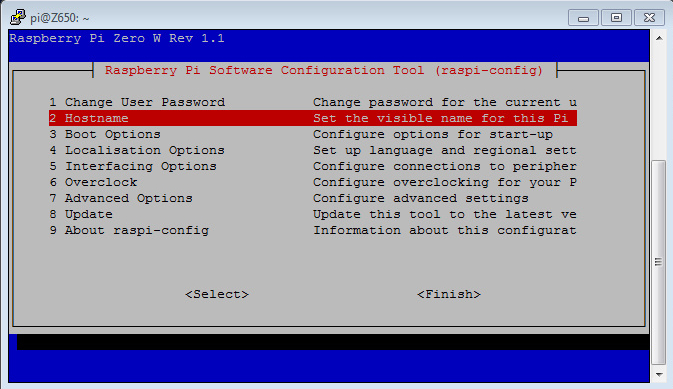
*Select option #2 "Hostname"

*Change the hostname to a distinct name you want the device to be called. IE: Z650, Motorcycle, R6, etc.(this is to give it a unique name on your network)
*Tab to "OK" once complete and press Enter
*You will be asked to reboot
Almost Finished!!!
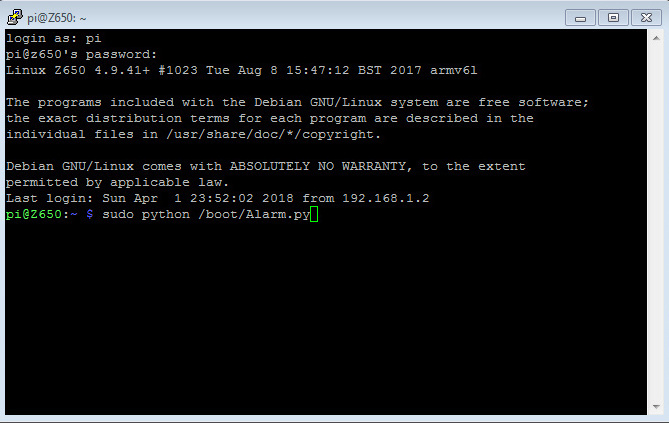
Step #16 Testing Time!!
*Type: sudo python /boot/Alarm.py
*Press Enter
*Give the MotoPi a flip to trigger the sensor
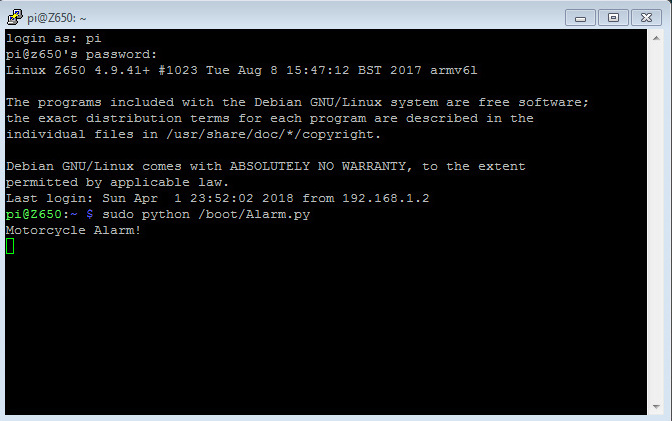
*You should see your message in the terminal, along with a Push Notification through the Pushover App on your cellphone.
If so, Congrats! You have a working alarm!
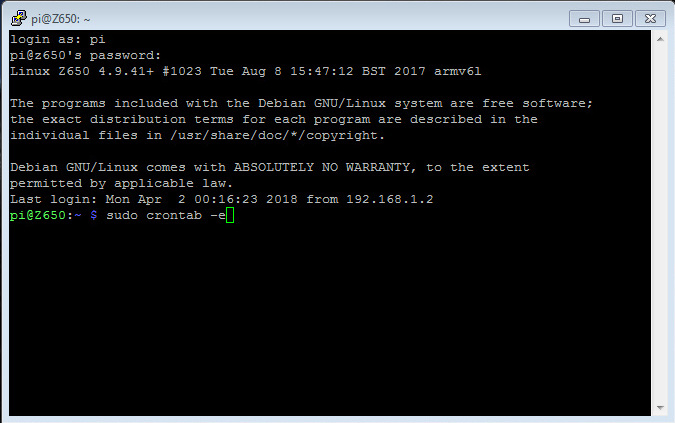
Step #17 Set the Program to Start on Boot
*Reset the Putty connection
*Type: sudo crontab -e
*Press Enter
*You will be asked to select an editor. Pick option 2 which is nano.
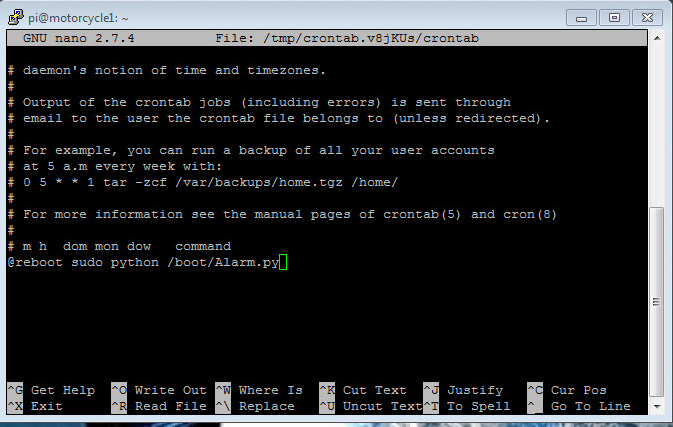
*Scroll to the bottom using your arrow keys and enter the following command:
@reboot sudo python /boot/Alarm.py
*Press CTRL+X then Y to save and exit
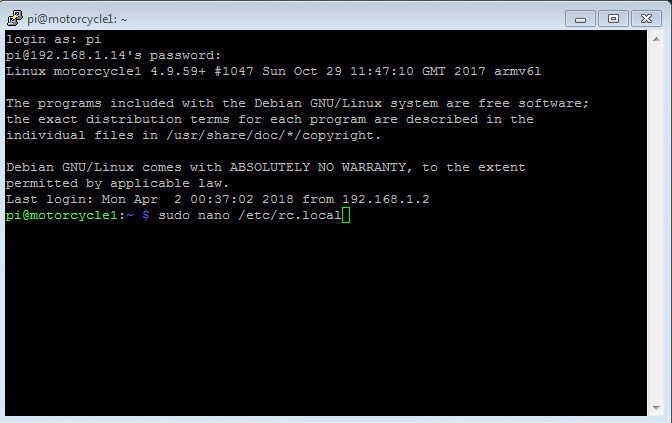
Step #18 Turn Off HDMI to Conserve Power
*Type: sudo nano /etc/rc.local
*Press Enter

*Scroll to the bottom and
above the line exit 0 type the following:
/usr/bin/tvservice -0
*Press CTRL+X then Y to save and exit
**These commands can be found inside of the MotoPi_Alarm.Zip in the script commands.txt file.
You're Now Finished!!

After one final reboot, your new alarm should boot straight into it's program and begin monitoring for activity.
Simply add some velcro and a USB battery pack as shown here, and place where ever you like!
With a simple sensor change, you can use plain magnetic door contacts instead of a tilt switch to monitor an entrance to your home, office, or even desk drawers! Enjoy!
Items You Need to Get Started
Complete RPi Zero W kit
The tilt sensor for this project
Optional: USB battery. This pack was tested, and gives 5+ days of continuous power to the unit.
The Files
Includes the Alarm.py, wpa_supplicant.conf, ssh.txt files needed for the Moto Pi Alarm to function. Also included is a text document with the needed terminal commands to program the script to run automatically.
Moto_Pi_Alarm.zip
Compressed archive in ZIP format [1.6 KB]